How to Link Your Google Meet Account to YOUniversity
Google Meet Integration with YOUniversity allows instructors to host live lessons and meetings to create a more interactive e-Learning experience.
In this article, we’ll guide you through integrating Google Meet into YOUniversity, turning your online learning sessions into engaging experiences. Whether you’re a teacher looking to spice up your online classes or a student eager for a more interactive learning adventure, keep on reading to discover the magic of Google Meet with YOUniversity.
Advantages of Google Meet Integration with YOUniversity
Ever wondered what Google Meet is and how it can enhance your remote learning experience? Imagine a digital classroom where you can connect face-to-face with your peers and instructors, regardless of your location.
But that’s not all! Combining Google Meet with YOUniversity opens the door to a world of endless possibilities. Engage in live video lessons, ask questions in real-time, collaborate on group projects, and participate in interactive quizzes and polls. It’s like bringing the physical classroom experience right to your screen!
Why Choose the Google Meet Integration for YOUniversity?
Well, this perfect blend of YOUniversity’s features and Google Meet’s real-time collaboration tools creates a learning experience that’s both fun and educational. Here’s why you’ll love it:
- Real-Time Connection: With Google Meet, you can jump into live video lessons with your teachers and classmates. It’s like being in a real classroom, all from the comfort of your favorite spot! Got questions or want to collaborate? Easy – it’s all just a click away.
- Stay Organized: Google Meet seamlessly integrates with YOUniversity, your go-to online learning platform. Say goodbye to the hassle of switching between apps; all your class schedules, assignments, and resources are neatly organized in one place.
- Interactive Learning: No more boring lectures! Thanks to Google Meet, teachers can create interactive lessons. They can share screens, show videos, present slides, and even throw in quizzes or polls to keep things engaging. Learning becomes an exciting adventure, not a chore.
- Learn Anywhere: With this Google Meet, your classroom is wherever you are. Whether you’re at home, a coffee shop, or even lounging in your backyard – as long as there’s internet, your learning journey continues. Just log in to YOUniversity, join the Google Meet session, and you’re good to go.
Get ready to enhance your learning experience with Google Meet and YOUniversity. Happy learning for everyone!

Each Instructor Needs to Connect Their Own Google Meet Account
The admin’s account can not be shared by all the instructors due to various reasons like rescheduling the meeting or cancellation. So, to have better control over the meetings, each instructor must connect their own API details from their dashboard.
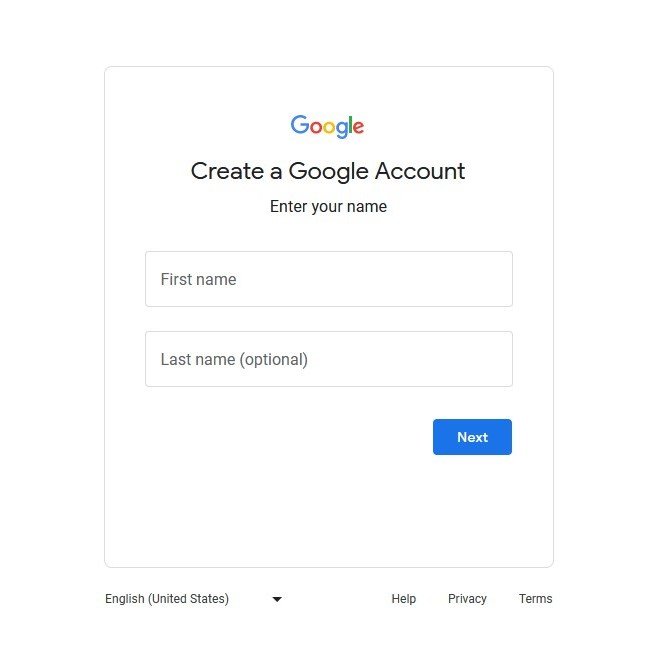
Create a Google Account
To get started, you need to create a Google account first, if you don’t have one. The easiest way is to create a free Gmail account. Visit Google’s website and create an account. You can use a free or paid version of Google Meet with YOUniversity. The same functions and restrictions apply with YOUniversity as using Google Meet on its own. If you have a Gmail account, you automatically have access too the free version of Google Meet.
Configure App Credentials
After creating an account, you must create Google OAuth Access Credentials that will connect YOUniversity to Google Meet, and configure it. Follow the steps below:
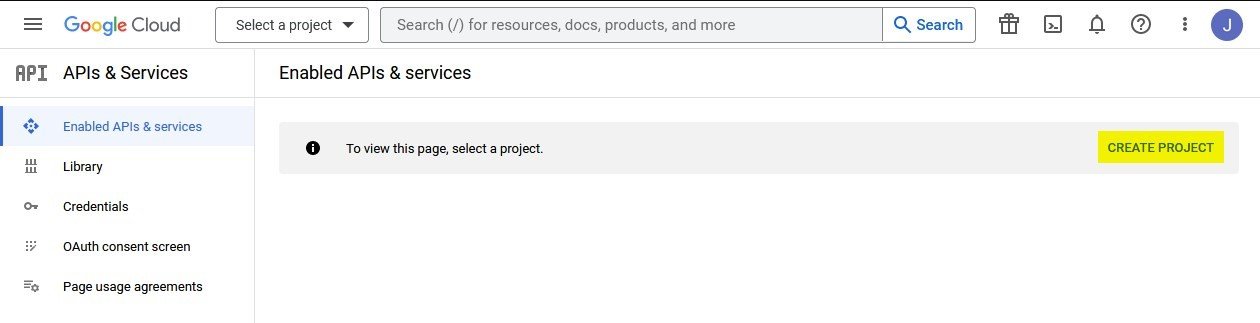
Step 1:
Go to the Google Cloud Console and log in with your Google account (email and password). Click on Create Project in the top-right corner.
Step2:
Give the project a Name, and if applicable, select an Organization.
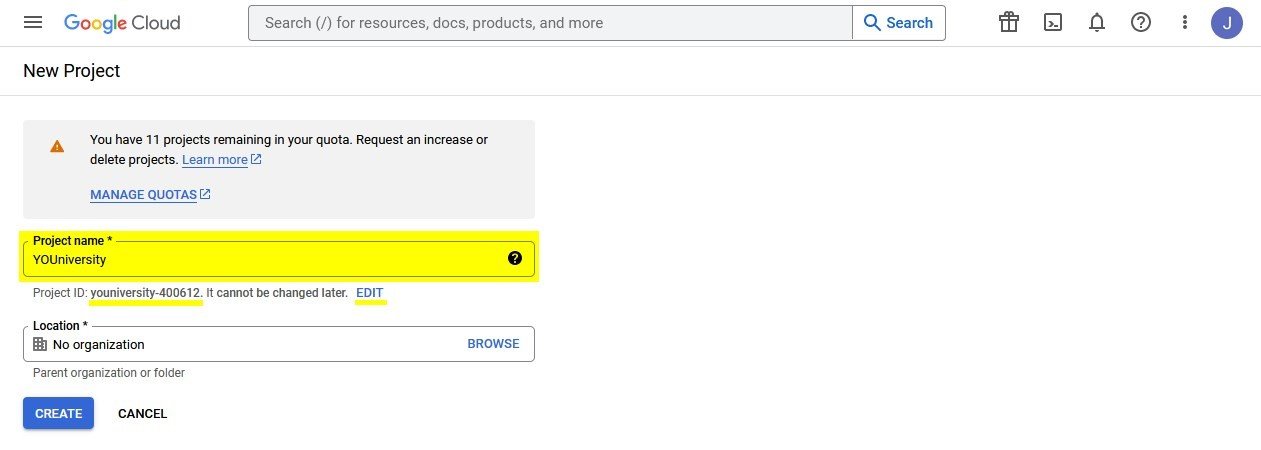
A Project ID will be automatically assigned. Click on Edit to change it if you wish. Note that the Project ID can be lowercase letters, digits or hyphens, but it must start with a lowercase letter and end with a letter or number. Click on Create.

Step 3:
From the Dashboards, click Enable APIs and Services..

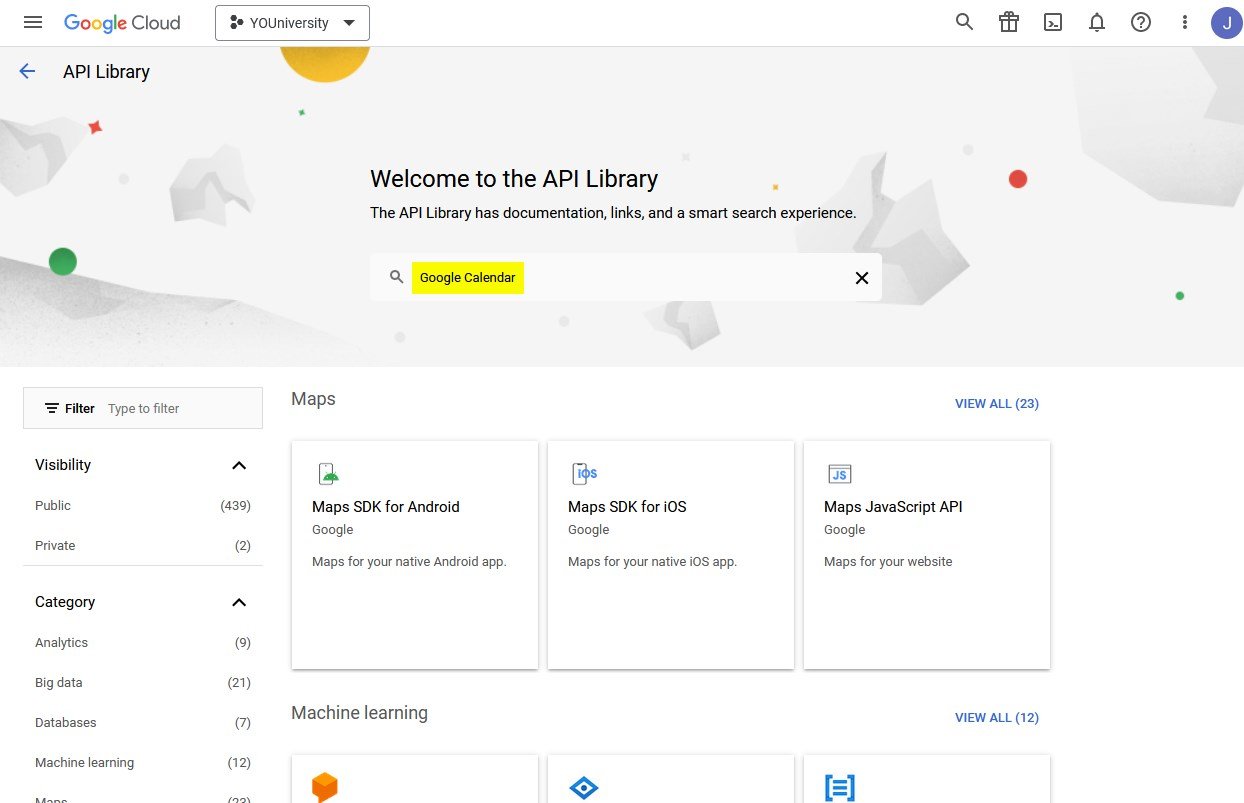
Step 4:
Search for Google Calendar in the search box, then select it.

Step 5:
Click Enable to activate Google Calendar API for this project.
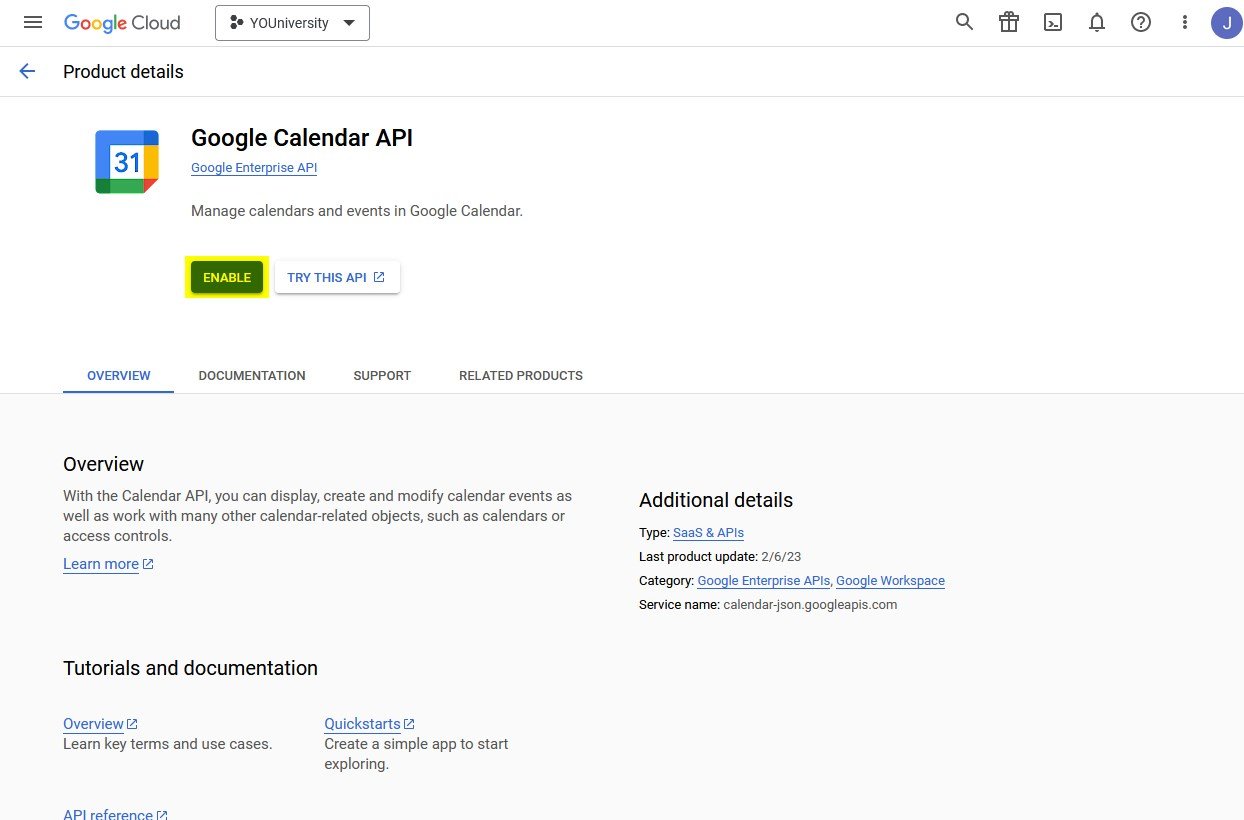
Step 6
From the Google Calendar API dashboard, click on Create Credentials.

Step 7
From data type, select User data, and then click Next.

Step 8
In the OAuth Consent Screen section name your app Meet. Note that the name must not contain the word Google or it will produce errors. Add your User support email and Developer Contact email. These can be the Google email address you used to log into the Google Console. Don’t and an App logo if you’re planning on using the free version of Google Meet. Click on Save And Continue.

Step 9
You can skip the Scopes section and click on Save And Continue.

Step 10
In the OAuth Client ID section select Web application as your application type. The Name is automatically assigned but you can change it if you wish. Then you have to set an Authorized redirect URI by following step 11 and pasting the link here.

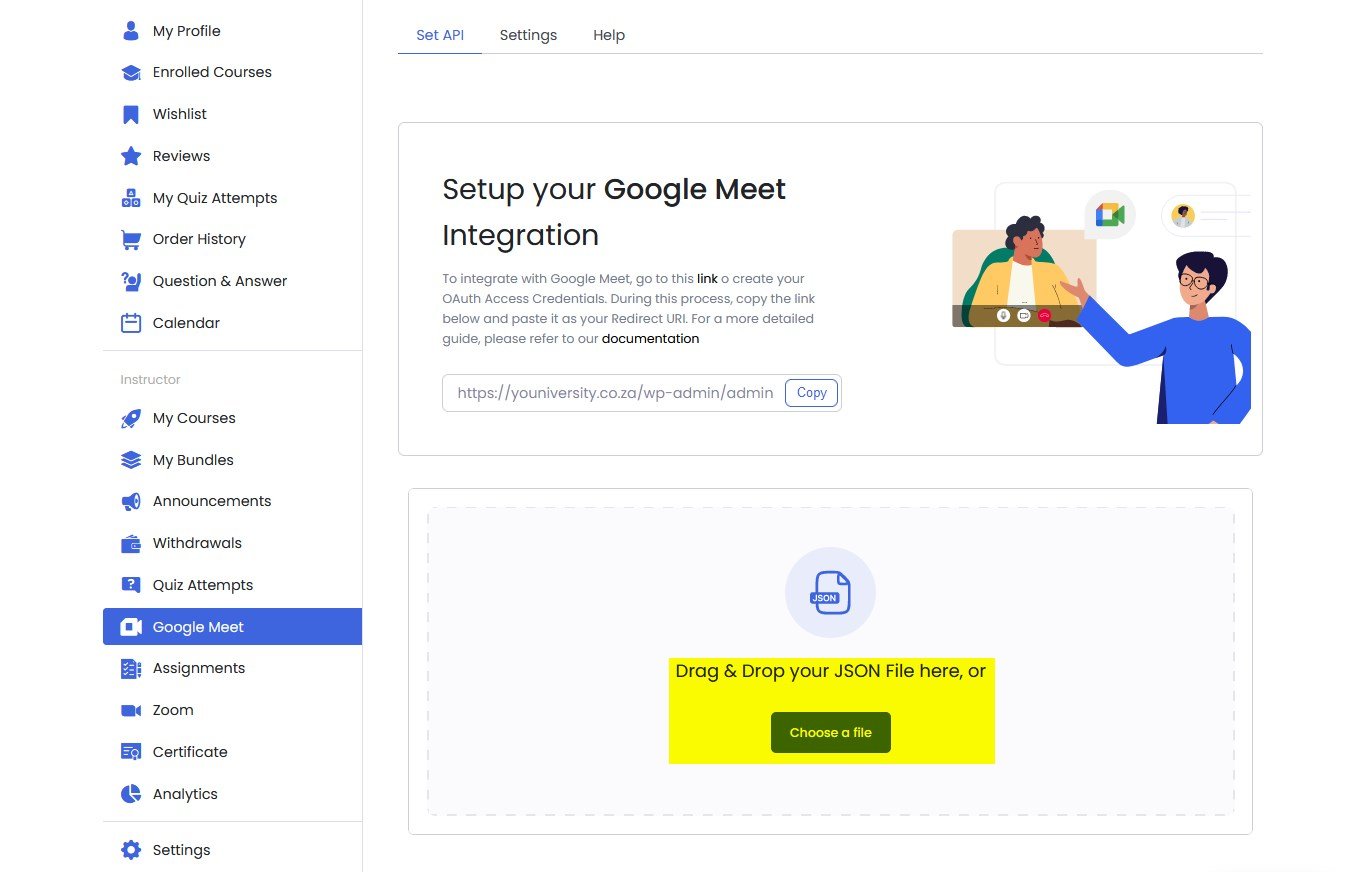
Step 11
For the Authorized redirect URI go to your YOUniversity Dashboard > Google Meet > Set API tab. Copy the link under Setup your Google Meet Integration and go back to the Google developer console. Under Authorized redirect URI click on + Add URI and paste the link. Click on Create and wait a few minutes for the process to complete.

Step 12
After creating the credentials, download the JSON file from the Credentials dashboard. Simply click on the Download icon to continue. Save the file on your computer. You’ll need to upload it to your YOUniversity Dashboard later. Click on Done.

Step 13
Lastly, click on the OAuth consent screen tab and then click Publish App. Doing this will make sure you can give YOUniversity and Google permission to use this integration. This is a very important step, without doing this you might get an error.

Click on Confirm to Push to production.

Connecting to Google Meet
After you have access to your JSON file, you can connect YOUniversity to Google Meet in just a few more steps. From your dashboard go to Google Meet > Set API. Click on Choose a file and upload the JSON file that you downloaded in Step 12. Once uploaded it will authenticate your website with the API credentials.
Once the file uploads you will be met with the screen shown below, from here, click on Go To Google’s Consent Screen.

Tick the Select all box and click on Continue. You may have to repeat the consent process if there is an error with the first attempt.

All Done!
If the steps have been followed correctly, you’ll be notified that the integration was successful. You can now head to your course and schedule meetings in the same way you would for a normal Zoom meeting.

If the integration wasn’t successful, please carry out the procedure again. If you’re having trouble and need assistance, please contact us.